BMW X3 F25 LED Tail Light Repair Guide and Malfunction Explained
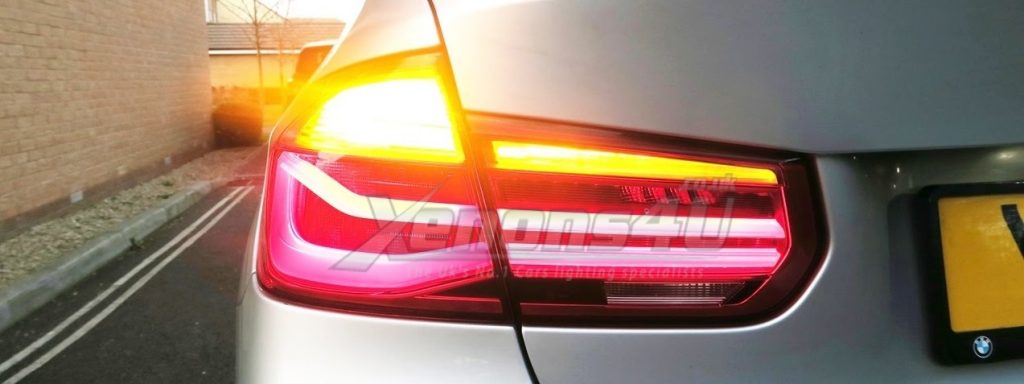
LED lighting is largely becoming the norm on new cars, especially those towards the top end of the market. The added safety features, electrical efficiency, and cosmetic enhancements appear to make them a no-brainer. And whilst the benefits are undeniable, unfortunately, these latest must-have features are not without their drawbacks. Just ask owners of the BMW X3 F25 SUV. The second incarnation of BMW's ever-popular mid-range SUV, the F25 X3 boasts a cluster of stylish LED tail lights. When they're working, they look great. But when they're not, they can prove to be a costly item to repair.
But why are BMW X3 F25 SUV owners reporting issues with the LED rear tail lights?
Well, for reasons known only to themselves, BMW opted to cut corners on the design of the LED tail light, using poorly designed and inferior quality electronic components, creating issues for owners who are left with partially functioning products that are expensive to fix. A BMW dealer charges a hefty three-figure sum for an OEM replacement of the failed unit.
The unusual addition to the tale is that some BMW X3 F25 SUV owners reported their rear tail lights becoming dimmer over periods of time before failing completely. Other drivers found that after not using the car for some time, the LED's would fire up as normal upon startup, but then fail after a short period of use. This erratic behaviour indicated a problem within the electronics, be it a weak connection or heat issue, initially making the LEDs dull, before ultimately, failing to work at all.
Initially, owners were left with no choice but to take their X3's to dealerships or mechanics to diagnose the issue. The root cause of the rear LED failure was still unknown, so the only option was the installation of a new lighting unit. Cars still within the terms of their warranty would be fixed with little or no charge, but the problem would constantly reoccur as the same faulty units were being installed as replacements.
But why is there such an electrical weak point? And how do we know that this is the cause?
Well, the biggest clue is in the fact that the rear tail lights were dimming or intermittently functioning. This told us that the LEDs themselves are not at fault and that there is in fact another internal component to blame.
After lots of investigation, often by X3 owners themselves, it was discovered that an excess of heat within the factory fitted Valeo b003809.2 circuit board was causing the connection to fail. At first, intermittently, but eventually the break down would cause complete failure of the PCB circuit driver, and as a result, the complete LED lighting unit.
But fear not. Now we know the Valeo circuit board to be the root cause of the issue we can begin the DIY repair of rectifying the situation.
If you are in the unfortunate position of having your BMW X3 F25 led tail light not working, there is a simple DIY repair. It is possible to bypass the inferior electronics and not only restore the functionality of your prized SUV, but future proof it against further failure.
Our complete new driver board vastly improves the internal electronics housed within the lighting unit. Simply replacing the old PCB board for BMW X3 tail lights with our new circuitry will restore your LED tail lights to their former glory . No need for an expensive trip to the BMW dealer for an entire replacement unit.
Below you'll find Valeo PCB board's and BMW part numbers as well as compatible X-series F25 X3 cars.
Our simple step by step guide takes you through the DIY repair to fix your LED tail lights using our new and improved replacement circuit board:
Step 1: Remove the tail light unit
The opening four minutes of this video guide you through the process of removing the lighting unit from the rear of your BMW.
Step 2: Find the existing Valeo b003809.2 board
The Valeo circuitry is easy to locate within the plastic housing of the tail light, this is the weak point of the LED light and the part that needs replacing or upgrading.
Step 3: Disconnect and slide out the old Valeo B003809.2 driver
Unclip the white connector from the old PCB board and remove it from the LED light, once free of its fixings it should slide out of position.
Step 4: Install the new B0038092 board
Drop in the new PCB driver circuit and reconnect the PCB board to the LED circuit
Step 5: Put the tail light back in place
Follow the removal instructions in reverse to replace the light housing. You can reattach your upgraded X3 LED tail light safe in the knowledge that your lights are not only fully functioning, but an improvement on the old Valeo circuit board.
This entry was posted in BMW on
January 24, 2020 by Xenons4u Team.